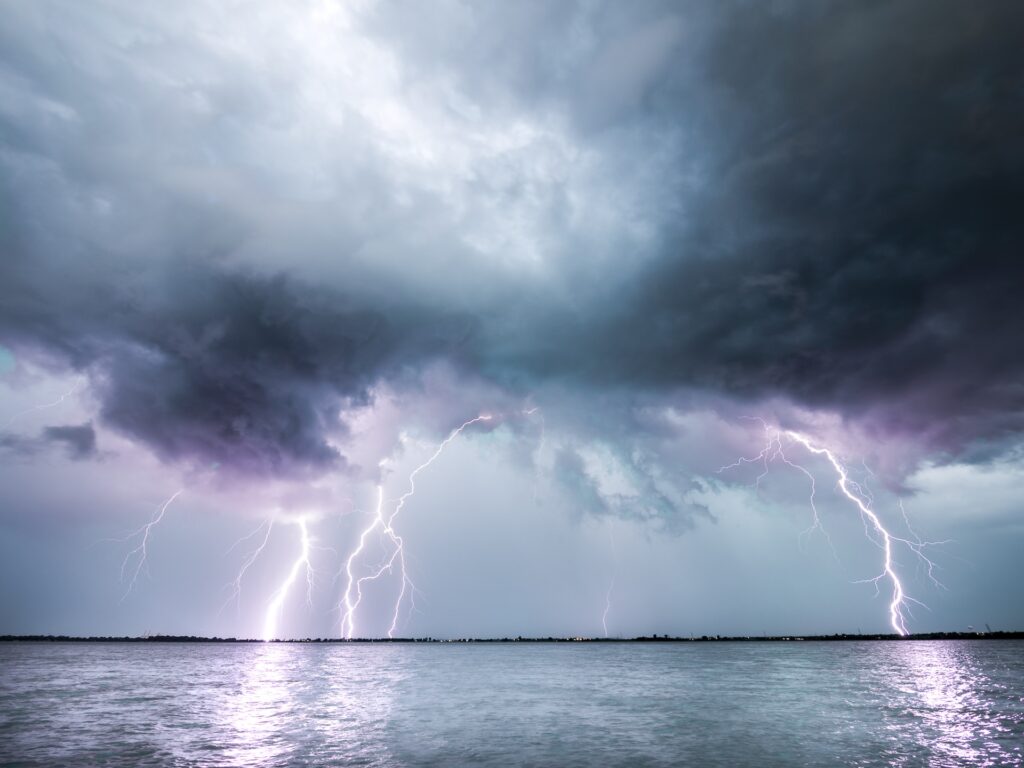
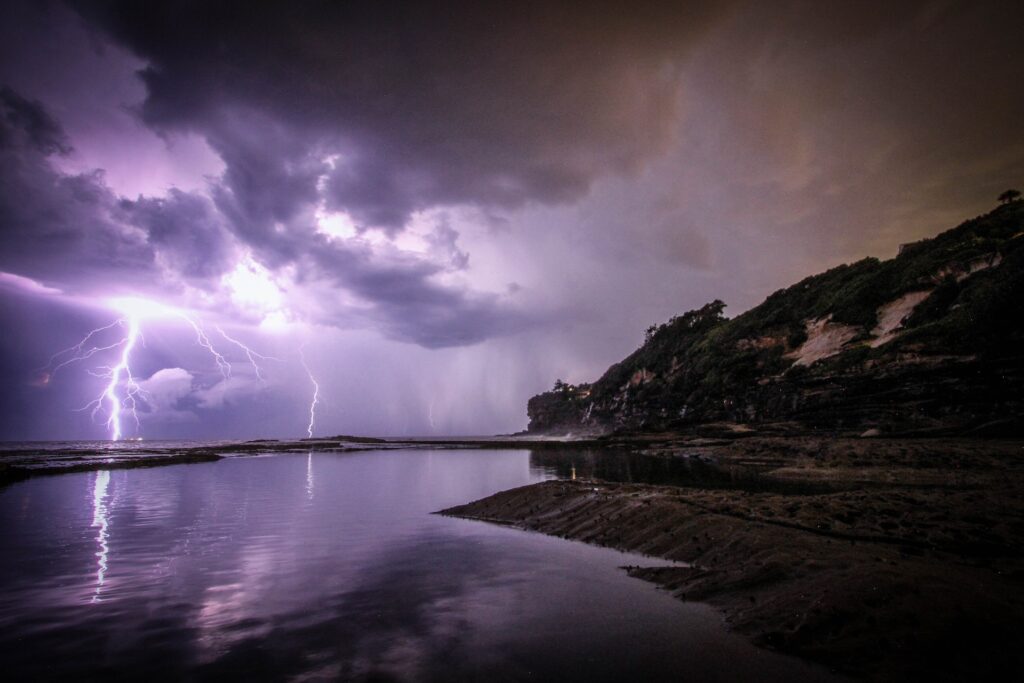
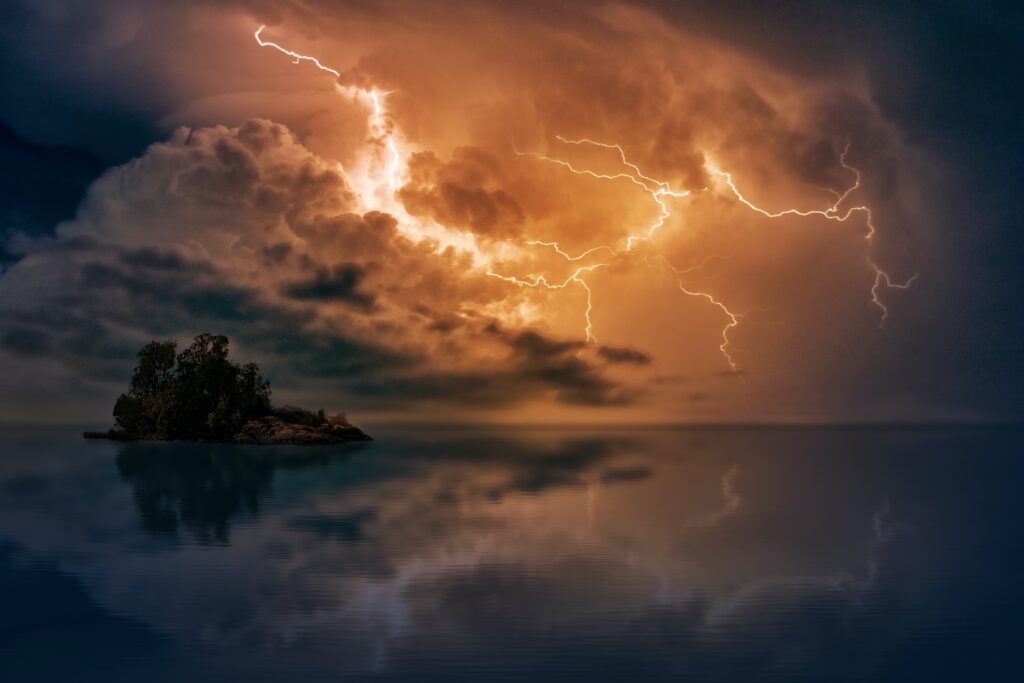
The sheer power and magnificence of a lightning storm can leave anyone in awe. Those electrifying bolts of light that pierce the darkened skies are not only a spectacle to behold but also a photographic challenge worth undertaking. Whether you’re an amateur photographer or a seasoned pro, capturing the essence of a storm in all its glory is a pursuit that promises excitement, beauty, and a deeper connection with the natural world.
In this article, we’re not just diving into the technical aspects of lightning photography – we’re exploring a world where the convergence of creativity and technology creates remarkable visual narratives. From choosing the right location to selecting the ideal camera and the art of balancing SEO in content, we’ll unravel the secrets of photographing nature’s fury. So, fasten your seatbelts, grab your camera, and get ready for an electrifying ride through the art of photographing spectacular lightning storm fronts as they roll in.
How Do You Photograph a Lightning Storm?
The crackling of thunder, the darkening of skies, and the exhilarating dance of lightning strikes – a thunderstorm, with its raw power and breathtaking beauty, is nature’s electrifying show. Capturing this awe-inspiring display through your camera lens is thrilling yet challenging. In this section, we will delve into the techniques and equipment necessary to capture stunning lightning shots that truly encapsulate the essence of a storm.
The Art of Lightning Photography

Lightning photography is more than just clicking the shutter during a storm; it’s a meticulous blend of technique and artistic intuition. Here’s a step-by-step guide on how to photograph a lightning storm:
1. Location, Location, Location
The first step to successful lightning photography is finding the perfect location. Seek a spot with an unobstructed view of the storm and minimal light pollution. Avoid standing in open fields or near tall objects, as safety should always be your top priority.
2. Stabilize Your Camera
To capture sharp and clear lightning shots, your camera must remain perfectly still. This is where a sturdy tripod becomes your best friend. Set your camera on a tripod to minimize any potential shake and ensure your photographs are crisp and blur-free.
3. Master the Settings
Understanding your camera settings is crucial for capturing lightning. Here are the key settings to consider:
a. Shutter Speed: Lightning is fleeting, and you’ll need a long exposure to capture those mesmerizing bolts. Start with a shutter speed of about 20-30 seconds. This prolonged exposure lets your camera capture multiple lightning strikes within a single frame.

b. Aperture: Adjust your aperture to a moderate value, typically between f/8 and f/16. This balances the exposure, preventing overexposure while keeping the image well-lit.
c. ISO: Use a low ISO setting, such as 100 or 200. A lower ISO minimizes digital noise, ensuring your images are clear and sharp.
d. Manual Focus: Switch your camera to manual focus mode and set it to infinity. Manually focusing your lens to infinity guarantees the lightning strikes will be sharp and crystal clear in your photos.
4. Patience and Timing
Lightning storms are unpredictable. Be prepared to wait for the perfect moment to capture a striking bolt of lightning. Consider using a remote shutter release or your camera’s built-in timer to prevent any camera shake when you take the shot.
5. Safety First
While pursuing the perfect shot is exhilarating, safety should always be paramount. Lightning storms are inherently dangerous, and you should never compromise your well-being for a photograph. Avoid standing near tall objects, water bodies, or open fields during a storm. Seek shelter if the storm intensifies, and only return to your camera when it’s safe.
6. Review and Refine
After each shot, review your images and make adjustments if necessary. Tweak your settings, try different angles, and experiment with your composition. Lightning photography often involves trial and error, so don’t be disheartened if you don’t capture a perfect shot on your first attempt.
7. Post-Processing
Once you’ve captured your lightning photographs, you can enhance them further through post-processing. Software like Adobe Lightroom or Photoshop can highlight the details and contrast in your images.
Capturing the Essence of Lightning
Photographing lightning storms is a challenging yet enriching pursuit. It requires the perfect blend of technical know-how, artistic sensibility, and patience. With practice and determination, you can capture stunning lightning shots that not only showcase the raw power of nature but also leave a lasting impression on those who view your work. So, head out with your camera, embrace the elements, and prepare to capture the electrifying beauty of a lightning storm.
Beyond the Basics: Advanced Lightning Photography

For those who have mastered the fundamentals of lightning photography, there are advanced techniques and equipment that can take your shots to the next level. Here are some pro tips and gear recommendations:
Advanced Techniques
1. Bulb Mode
In situations where your camera’s most extended shutter speed isn’t quite long enough to capture lightning strikes, switch to “bulb” mode. In bulb mode, the shutter stays open for as long as you hold down the shutter release button. Use a remote shutter release to avoid camera shaking while you keep the shutter open for extended periods during a storm.
2. Stacking
Lightning storms can be erratic, and you may only sometimes capture the perfect bolt in a single exposure. Stacking is a technique where you take multiple photos and later combine them to create a composite image. This allows you to merge several lightning strikes into a single, spectacular shot.
3. Lightning Trigger
Consider investing in a lightning trigger device. These gadgets can detect the lightning flash and trigger your camera precisely when a strike occurs. Lightning triggers significantly increase your chances of capturing the perfect shot, as they are designed to react faster than human reflexes.
Recommended Gear
1. Wide-Angle Lens
A wide-angle lens, such as a 16-35mm, is ideal for capturing the entire expanse of the stormy sky. This lens lets you include more dramatic scenes in your frame, making it perfect for landscape-style shots.
2. Lightning Trigger
As mentioned earlier, a lightning trigger can be a game-changer for lightning photography. Brands like Pluto and Strike Finder offer reliable trigger devices that can help you precisely capture lightning.
3. Remote Shutter Release
A remote shutter release is invaluable, especially when using long exposure times. It eliminates the need to touch the camera, reducing the risk of camera shaking.
4. Lens Hood
To prevent lens flare from city lights or other unwanted light sources, use a lens hood. This accessory helps to maintain the integrity of your shots, ensuring your lightning strikes remain clear and vivid.
5. Lightning Maps and Apps
Various smartphone apps and websites provide real-time lightning strike data. These tools can help you anticipate and prepare for incoming storms, increasing your chances of capturing those electrifying moments.
Photographing lightning storms is an art that requires technical expertise, patience, and a touch of creative intuition. Whether you’re just starting or a seasoned pro, experimenting with techniques and equipment can lead to breathtaking results. Remember that safety always comes first, and respect the unpredictable nature of storms. With practice, the right gear, and a little luck, you can capture the spectacular beauty of lightning in a way that genuinely mesmerizes and inspires. So, grab your camera and venture into the heart of the storm to unveil the electrifying essence of nature’s fury.


